ARTS是
由左耳朵耗子--陈皓发起的一个活动: 每周至少做一个leetcode的算法题、阅读并点评至少一篇英文技术文章、学习至少一个技术技巧、分享一篇有观点和思考的文章。(也就是Algorithm、Review、Tip、Share简称ARTS),至少坚持一年。
ARTS 001
这是第一篇,写的比较水,希望以后越来越好。
Algorihm 算法题
leetcode 算法第344题 Reverse String(反转字符串)
Write a function that takes a string as input and returns the string reversed.
Example:
Given s = "hello", return "olleh".
请编写一个函数,其功能是将输入的字符串反转过来。
示例:
输入:s = "hello"
返回:"olleh"
此题比较简单,实现如下:
char* reverseString(char* s) {
    int len=strlen(s);
    int mid=len/2;
    for(int i=0,j=len-1;i<mid,i<j;i++,j--){
        char tmp;
        tmp=s[i];
        s[i]=s[j];
        s[j]=tmp;
    }
    return s;
}
也可以用别的方式来实现,比如栈,需要注意的是用栈来实现的话需要两倍的内存空间。
Review
下面这篇文章来自:https://littlebitesofcocoa.com/280-flowing-text-around-images-with-exclusion-paths; 讲的是如何实现文字环绕图片的效果,在开发中还是比较实用的。
Flowing Text Around Images With Exclusion Paths(用exclusionPaths的方法让文字环绕在图片周围)
Text is a huge part of iOS apps. Today we’ll look at one way we can polish up the text in our apps, by allowing it to naturally “flow” around objects. Let’s begin.
文本是iOS应用程序的重要组成部分。 今天我们将看一下我们可以通过允许它自然地“流动”在图片周围的应用程序中的文本。 让我们开始。
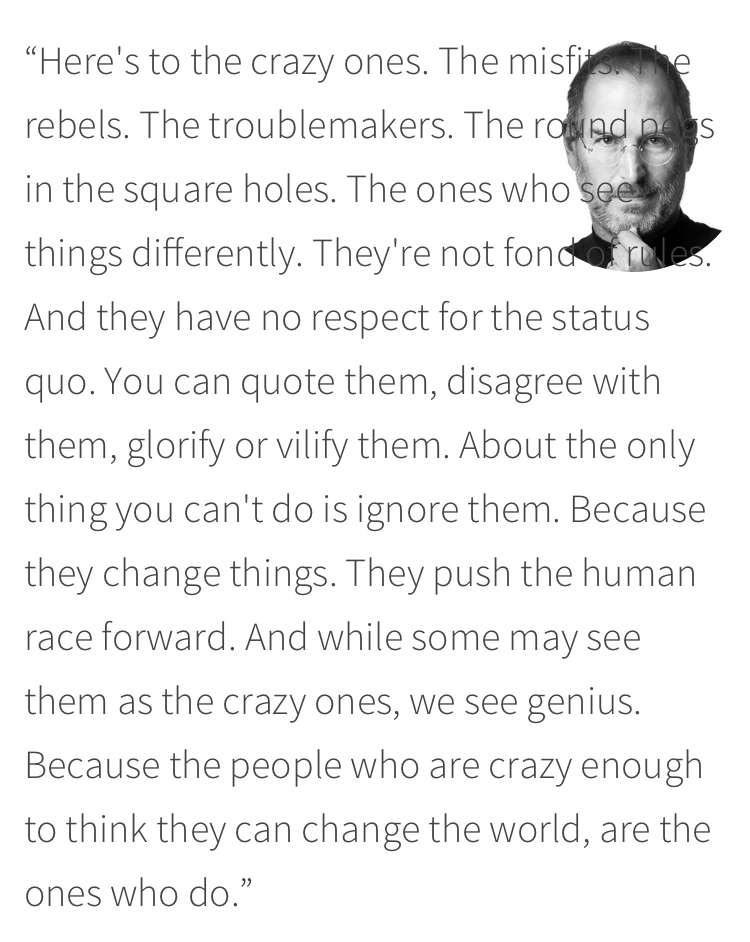
We’ll start with a “before” picture. Here we’ve got a basic setup with some text and an image in the top right corner. Nothing too fancy here, just a regular UITextView and UIImageView: 我们将从“之前”图片开始。 在这里,我们有一个常见的布局,右上角有一些文字和一个图像。 这里没什么特别的,只是常规的UITextView和UIImageView:
let imageView = UIImageView(image: UIImage(named: "steve"))
let textView = UITextView(frame: .zero)
textView.text = "Here's to the crazy ones..."

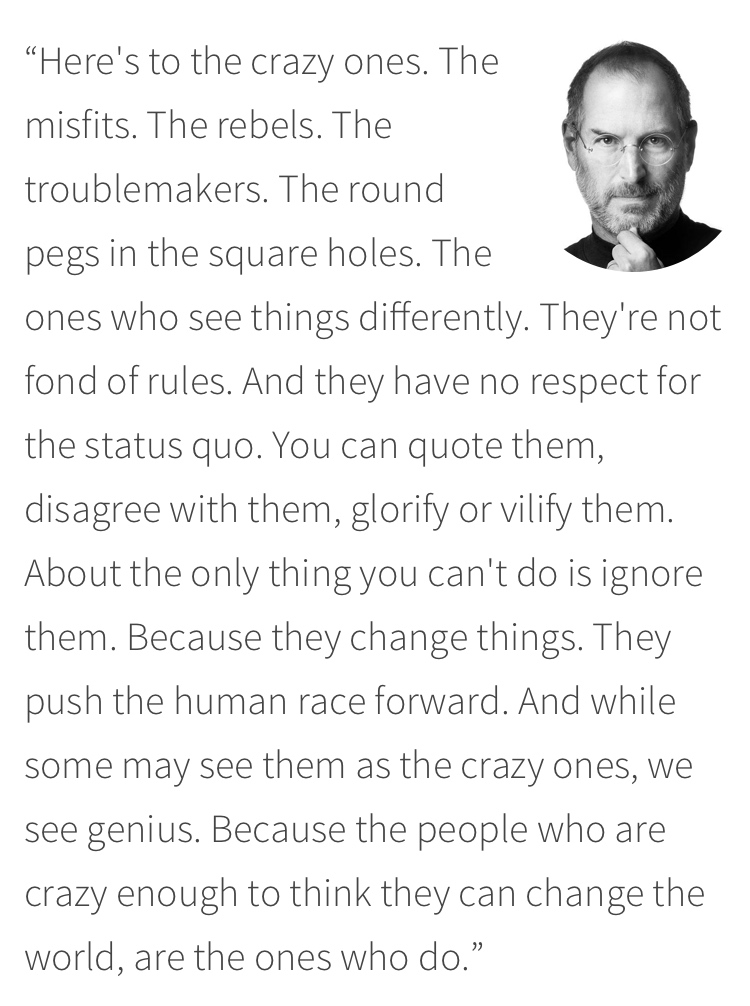
This looks fine. But our text is needlessly narrow. It’d be great if we could make the text expand to the full width of the device. We’ll change our Text View’s layout so it does: 看起来很好。 但是我们的文本显示的宽度变窄了。 如果我们可以将文本扩展到设备的整个宽度,那就太棒了。 我们将更改文本视图的布局,变成下面这样:
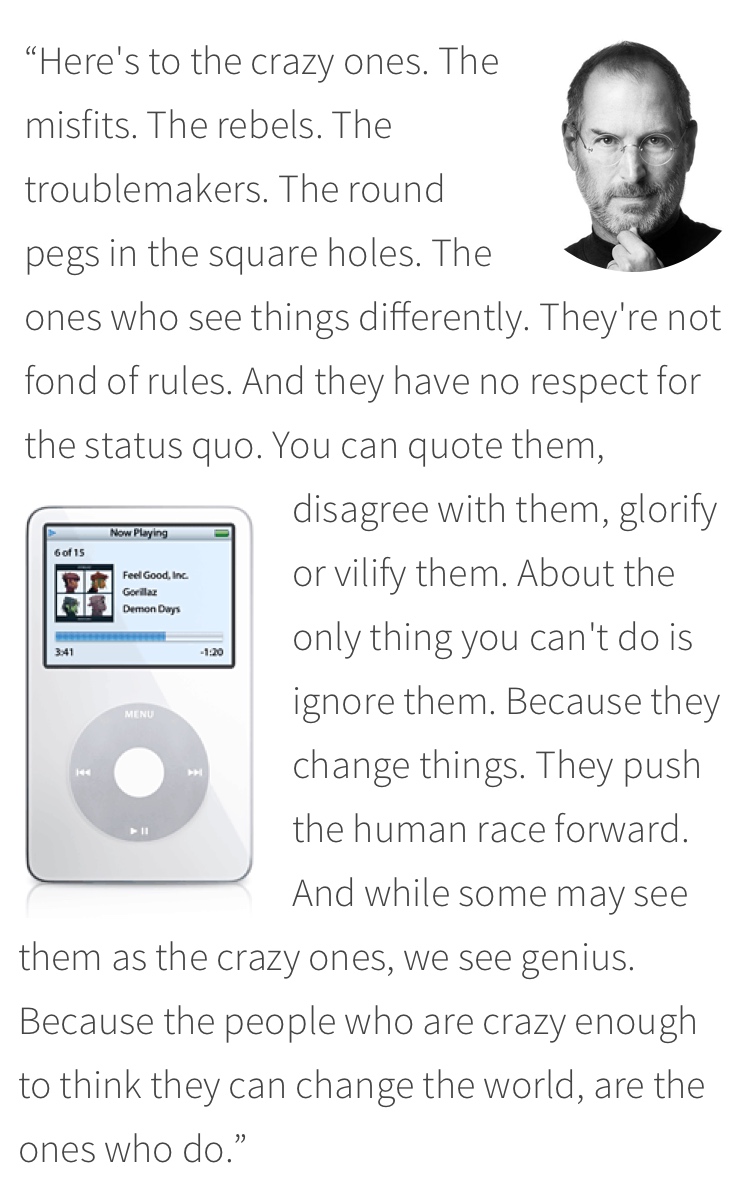
Well, we’re getting closer. Now we just need a way to make the text “flow” or “wrap” around our image. We’ll start by getting the frame of the image view, then we’ll create a path from it:
let imagePath = UIBezierPath(rect: imageView.frame) Finally, we’ll set our new path as one of the exclusionPaths of our Text View’s textContainer:
textView.textContainer.exclusionPaths = [imagePath]
好吧,我们越来越近了。 现在我们只需要一种方法使文本“流动”或“包裹”在我们的图像周围。 我们首先得到图像视图的框架,然后我们将从中创建一个路径:
让imagePath = UIBezierPath(rect:imageView.frame) 最后,我们将新路径设置为Text View的textContainer的exclusionPath之一:
textView.textContainer.exclusionPaths = [imagePath]
Success! Since exclusionPaths is an Array, we can flow text around as many shapes as we want! 成功了! 由于exclusionPaths是一个数组,我们可以根据需要在文本周围流动文本!
Demo:https://github.com/danminyi/TextAroundImages
Tip
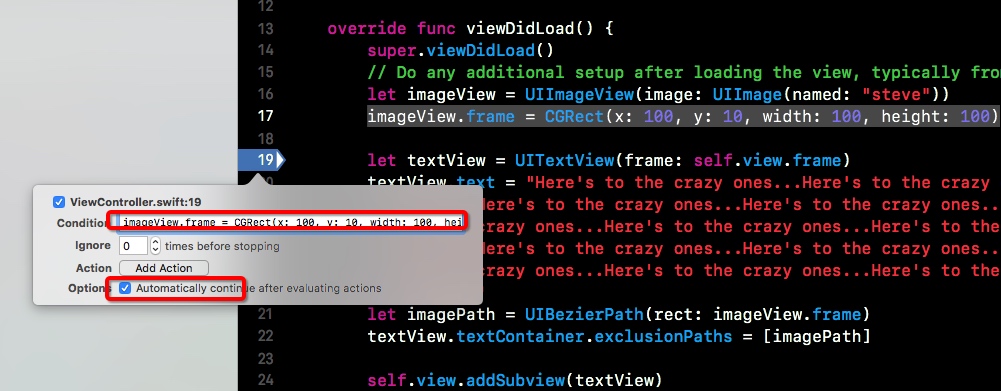
在使用Xcode的时候,有时调试的时候想改变某一个变量的值,比如下图我想修改imageView的值,一般的做法是修改之后重新运行,这样做效率太低了,除了使用reveal和injection这样的第三方工具之外,其实也可以用xcode自带的方法–打断点,如下图所示,可以直接修改imageView的frame,勾选下面的Automaticlly之后,断点走到这里不会暂停,可以直接运行,是不是很方便,特别是调试传参函数的时候,简直太方便了。
Share
这周在看《网络是怎样连接的》(https://book.douban.com/subject/26941639/) 目前第二章还没看完,不得不说这本书真的很适合网络初学者,之前也看了一些网络的书,但是都没能看完,可能自己基础太差吧,这本书先讲解网络的全貌,然后再讲解每一个细节,从你在浏览器中输入网址到服务器响应,再到浏览器展示数据,这个过程中的每一步都有通俗易懂的讲解。 之前也看了图解http,图解TCP/IP,但是看的也不太明白;很多书只讲解了其中的一个点,就像盲人摸象,无法全局考虑;或者直接讲原理,没有和日常使用场景结合起来,不容易让人明白。 这本书先从你最熟悉的场景开始,然后讲到原理,当然这本书的定位是网络初学者,所以很多知识点不可能讲的太深,所以这本书只适合入门使用。 之前进行socket编程,一直没有明白其中的具体过程,看了前两章有种豁然开朗的感觉。 如果你一直想深入学习网络,但是看了很多书,感觉还是没有入门或者比较迷茫,没有整体网络的概念,那么这本书很适合你。